
Lil' Goblin
This Lil' Goblin model was built from a kit made by Madcow Rocketry. After Bdale's successful Level 3 certification flight on the 10" big-brother, I decided to build the 2.6" version to honor his success.
I've flown this rocket with Oregon Rocketry at our model rocket launches held at Memorial Park in Wilsonville Oregon. The first flight was made on an Aerotech E16-7W motor.
This rocket has a very small parachute bay, which is encroached upon by the nose cone and the eye bolt in the bottom of the nose. I'm planning on cutting the bottom off of the nose and fitting a small payload bay inside the nose for electronics, so I can fly bigger motors and still find it.
Payload Bay
As I mentioned above, I wanted to create a payload bay in the nose of the rocket to hold electronics as well as to eliminate the giant eye bolt protruding into the recovery bay between the motor and the nose.
The basic plan was to use a piece of 29mm Apogee body tube for the payload bay, and glue it to the inside of the nose as well as to a centering ring at the aft end of the nose, then stick a cover over the centering ring.

Here's what the nose looks like with the bottom end removed. Just a nice hollow piece of plastic, all ready to carry some fun toys.

First, I made a centering ring out of 1/8" aircraft plywood. I did this with my dremel tool, drawing two circles with a compass and cutting them with a straight cutter bit. The rough cuts weren't very circular, so I fine-tuned them with a sanding wheel, and then adjusted the sizes to fit. Some kind of “real” tool here would be a great help; I may try to make something with my router table. There's also a piece of 29mm Apogee body tube stuck inside which will act as the payload bay. Nothing is glued yet, this is just showing how things will fit together.
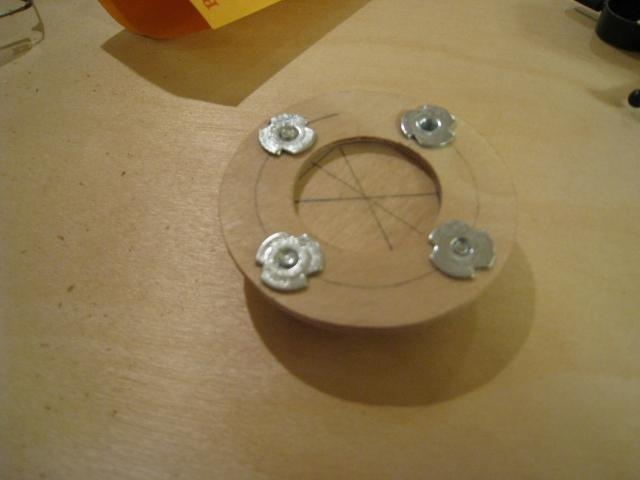
Next, I made another disk which will serve as the payload bay cover. Then I clamped the disk and the ring together and carefully located where four holes would go for t-nuts. Even with extreme care, one of the nuts still ended up about a 1/16th of an inch off, so the cover only goes on one way. The t-nuts go through both the ring and the cover, which keeps the cover nicely positioned. You can see lots of pencil marks used to try and get things lined up precisely.
To attach the shock cord, I wanted something that would be tied to the centering ring and not just to the cover. So, I took a short length of allthread and made a loop of kevlar cord to go around it. Then, I drilled a hole in the centering ring along the same radius as the t-nuts. Passing the cord through the hole, I pulled it tight.
Next, I put a piece of waxed paper between the centering ring and the cover, then covered the outside end of the 29mm tubing with epoxy and stuck that in place. Using more epoxy, I covered the kevlar cord and allthread. I made a dam on the outside of the centering ring out of blue tape, and covered the t-nut holes with smaller pieces of blue tape as well. The goal of the allthread was to spread the shock cord load across a wider area.
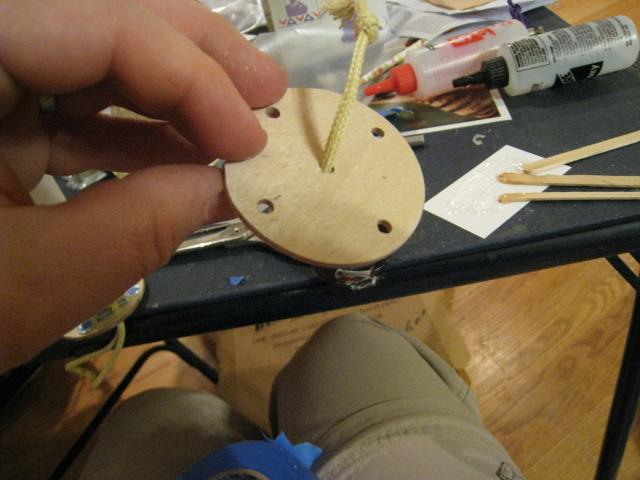
To get the cover off, I stuck a piece of kevlar cord through a hole in the middle, tied off both ends and epoxied it in place (you can't see the epoxy in this shot; it's on the other side of the cover).
Covered by my index finger is a slot made in the cover where the shock cord loop goes.
I made a fairly large batch of epoxy and covered the fore end of the payload bay tube, and then spread a thick layer on the aft end of the nose cone. Then all I had to do was slide the payload bay in place, and adjust the centering ring inside the nose cone. Very little epoxy remained aft of the centering ring.
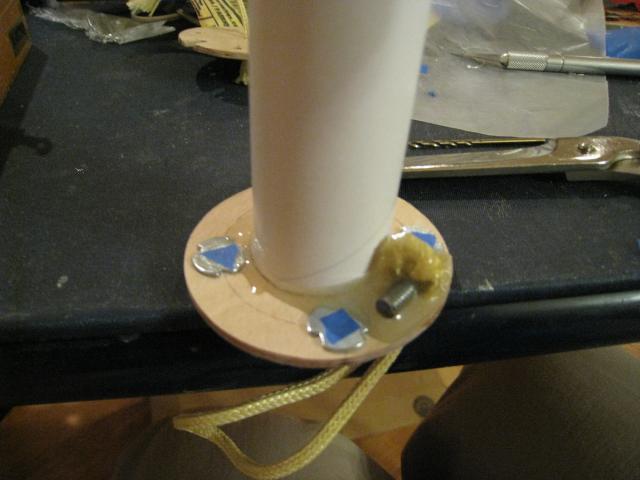
here you see the final product, with the shock cord attached, the cover in place and the cover handle sticking out. Four bolts is probably overkill in this application, but I'm fairly sure it won't come apart at this point.
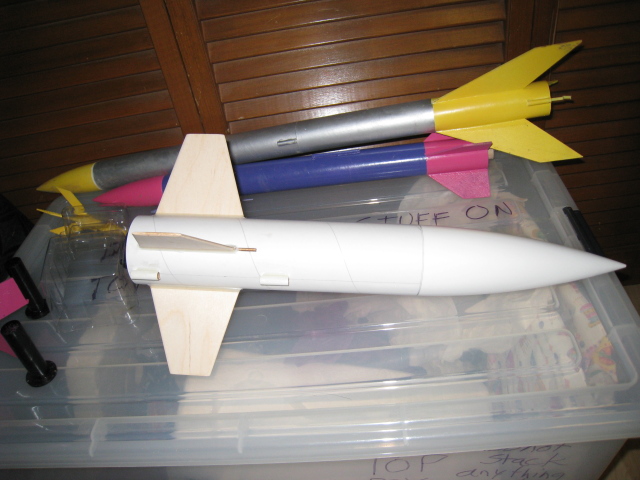
And here's what the Lil' Goblin looks like all spread out, as if it just landed. It's going to be fun to take this one out flying again.